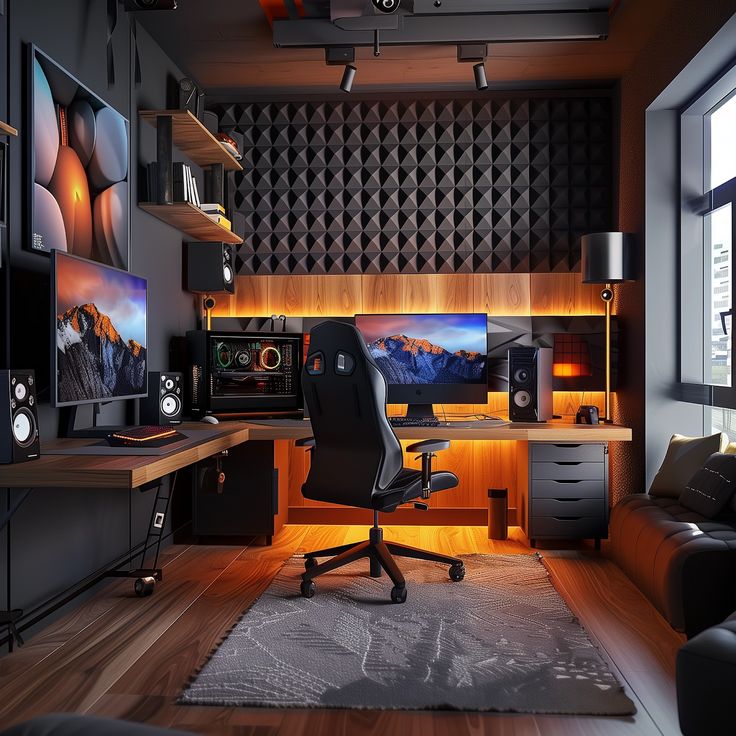
How to build a gaming PC
1. Plan and Purchase Components
Before diving into the build, you need to plan and select the right components. Here are the essential parts you’ll need:
CPU (Processor)
The CPU is the brain of your computer. Choose a model that balances performance and cost. Popular brands include Intel and AMD, and their latest offerings are well-suited for gaming.
GPU (Graphics Card)
The GPU is crucial for gaming performance. A powerful graphics card can vastly improve your gaming experience. Brands like NVIDIA and AMD are leaders in this space, offering options ranging from budget to high-end.
Motherboard
Your motherboard houses the CPU, RAM, and other components. Make sure it’s compatible with your chosen CPU. Additionally, check for features like PCIe slots for your GPU and USB ports for peripherals.
RAM (Memory)
Aim for at least 16 GB of RAM, which is ideal for gaming today. Brands like Corsair and G.Skill have a variety of options.
Storage (SSD/HDD)
Consider a combination of SSD and HDD. An SSD will drastically decrease boot and load times, while an HDD is great for storing larger files.
PSU (Power Supply Unit)
Choose a PSU with enough wattage to support all your components. Look for models with an 80 Plus certification for efficiency.
Case
Select a case that fits your components and allows for good airflow. Consider aesthetics as well; many cases come with customizable RGB lighting.
CPU Cooler (if not included with the CPU)
Some CPUs come with stock coolers, but an aftermarket cooler may offer better cooling and quieter operation.
Operating System
Decide on an operating system, with Windows being the most popular for gaming.

2. Prepare Your Workspace
Creating the right environment is crucial for building your PC successfully.
- Clean, spacious area: Ensure you have ample space to work without clutter.
- Static-free area: Minimize the risk of static damage by working on a non-carpeted surface.
- Anti-static wrist strap: This accessory will help prevent static electricity from damaging your components.
- Tools: Have a Phillips head screwdriver, and thermal paste (if necessary) ready.
3. Install the CPU
Open the CPU socket on the motherboard by lifting the lever.
Align the CPU with the socket, making sure to check for the golden triangle marking.
Carefully place the CPU into the socket and secure it by lowering the lever.
4. Install the CPU Cooler
For stock coolers, follow the included installation instructions.
If using an aftermarket cooler, apply a small amount of thermal paste to the CPU if it’s not pre-applied.
Secure the cooler firmly onto the CPU and motherboard.
5. Install RAM
Open the RAM slots on the motherboard by pushing the clips to the sides.
Align the RAM sticks with the slots and press down firmly until they click into place.
6. Install the Motherboard in the Case
If necessary, attach standoffs to the case.
Align the motherboard with the standoffs and I/O shield.
Secure the motherboard with screws to keep it stable.
7. Install the Power Supply (PSU)
Place the PSU in its designated spot in the case.
Secure it with screws.
Connect the necessary power cables to the motherboard, including the 24-pin ATX and the 8-pin CPU power.
8. Install Storage (SSD/HDD)
Mount your SSD or HDD in the designated slots in the case.
Use SATA cables to connect the storage devices to the motherboard.
Connect the power cables from the PSU to the storage devices.
9. Install the Graphics Card (GPU)
Remove the necessary expansion slot covers from the case.
Insert the GPU into the appropriate PCIe slot on the motherboard.
Secure the GPU with screws.
Connect the necessary power cables from the PSU to the GPU.
10. Connect Front Panel and Case Cables
Attach the front panel connectors (power switch, reset switch, USB ports, audio jacks) to the motherboard.
Refer to the motherboard manual for precise pin layout to ensure accurate connections.
11. Manage Cables
Use cable ties to organize and secure cables, preventing clutter.
Ensure proper airflow within the case by routing cables out of fan paths.
12. Final Checks
Double-check all connections to make sure everything is secure.
Look for any loose screws or components that might affect performance.
13. Power On and Install OS
Connect your monitor, keyboard, and mouse.
Plug in the power cable and turn on the PSU.
Press the power button on the case.
Enter the BIOS/UEFI and confirm all components are recognized.
Set the boot order to install the operating system from a USB drive or disc.
14. Install Drivers and Software
Download the latest drivers for your GPU, motherboard, and other components from respective manufacturer websites.
Install any necessary software and updates to enhance performance.
15. Test and Optimize
Run benchmark tests to ensure the system is performing as expected.
Monitor temperatures and performance for stability.
Make any necessary adjustments in the BIOS/UEFI or software settings based on your performance observations.

